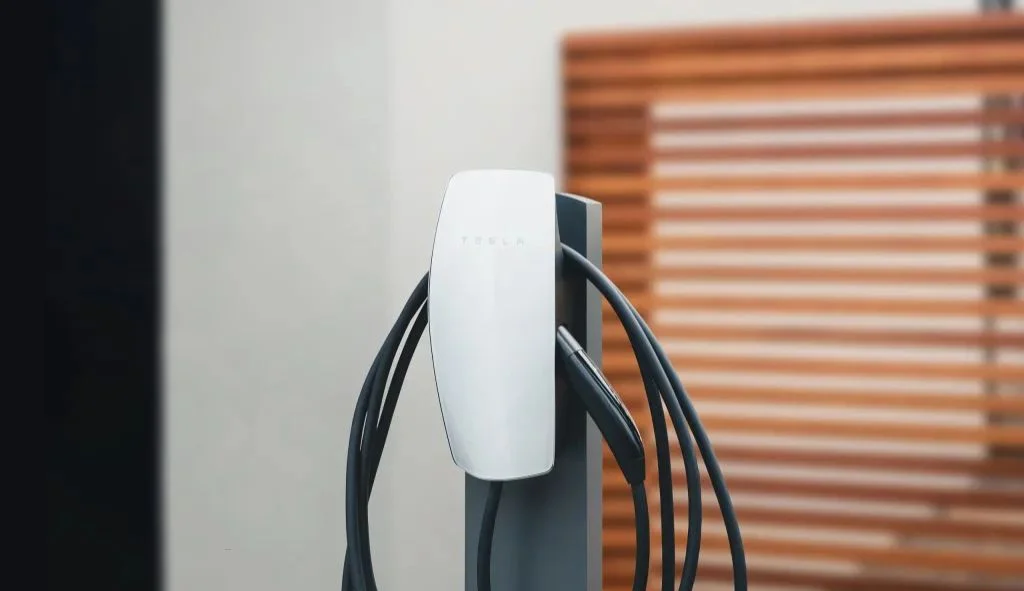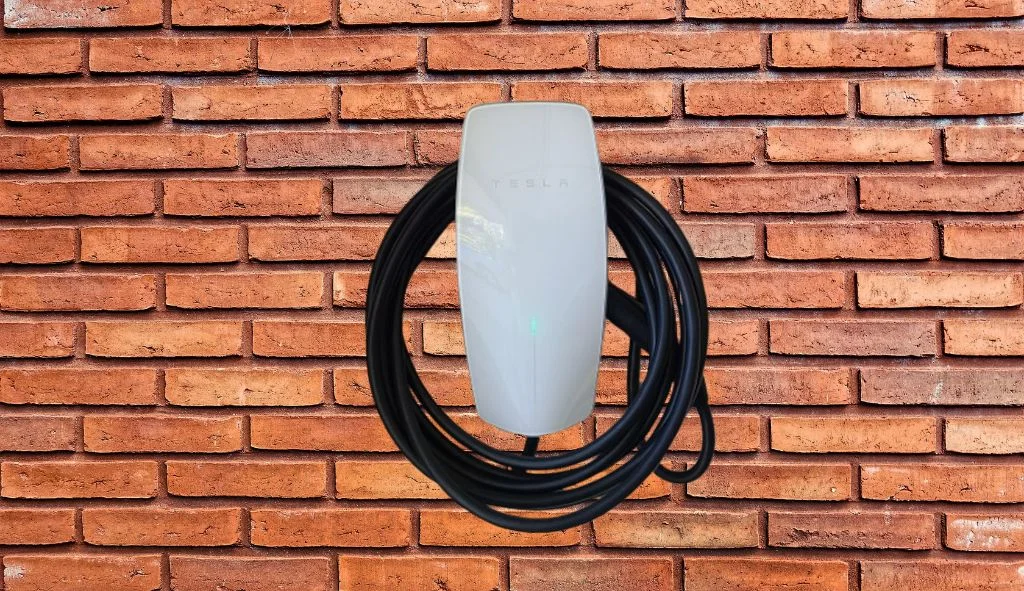
To remove a Tesla charger from the wall, separate the job into two parts. A Gen 3 Wall Connector's main unit lifts off its wall bracket once the breaker is off and four screws are out, which Tesla documents for owners; the wiring behind it stays in the wirebox and has to be disconnected and capped by a licensed electrician.
That split matters because most owners asking this question are moving house. You probably want the expensive part, the unit with its 24 ft cable, and you need the circuit left safe for whoever lives there next.
What you're actually removing
A Gen 3 Wall Connector is two pieces:
- The wirebox. A bracket screwed to the wall. The supply conductors (L1, L2 and ground; no neutral is used) come in through conduit or cable and land on its terminals.
- The main unit. The faceplate, electronics and charge cable. It sits on the wirebox and is held by four screws, two at the top and two at the bottom.
Tesla's Gen 3 Wall Connector weighs about 10 lb including the wirebox, so lifting the unit off is a one-person job. The wiring never leaves the wirebox when you do it.

Check which unit you have first
The easy lift-off only applies to Gen 3 hardware. Older units are built differently, and that changes who should take them down.
| Unit | How to recognize it | Where the wires land | Who should remove it |
|---|---|---|---|
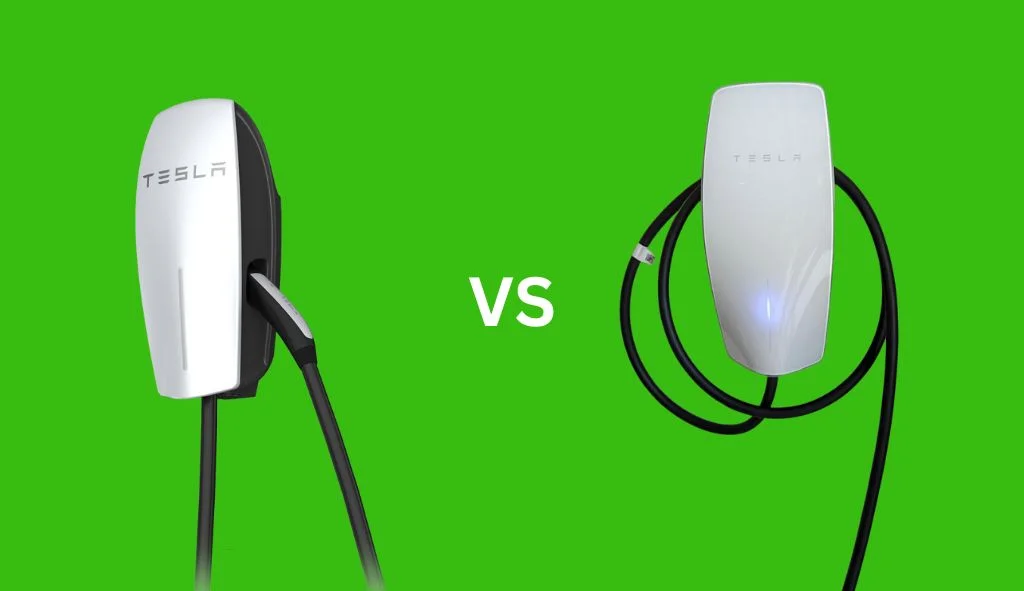
| Gen 3 Wall Connector | Glass faceplate, vertical light bar, Wi-Fi; side label TPN 1457768-##-# | Separate wirebox | You can lift the unit off; electrician for the wirebox and circuit |
| Universal Wall Connector | Same shape, deeper (5.9 in), J1772 adapter in the dock | Separate wirebox | Same as Gen 3 for the wiring; confirm the unit steps with Tesla |
| Gen 2 Wall Connector | Plastic (often silver) face, docking notch on the side, no Wi-Fi | Inside the unit, next to the rotary switch | Electrician, start to finish |
| Gen 1 (HPWC) | Metal face cover, no docking notch | Inside the unit | Electrician, start to finish |
On a Gen 2 or Gen 1 unit there's no separate wirebox to leave behind, so taking it down means opening the unit with the circuit conductors inside. That's electrician work. If you're not sure which generation is on your wall, our guide to telling the generations apart has photos and part numbers, and the Universal Wall Connector comparison covers the J1772 version.
Moving house: take it, leave it or split it
Before anyone picks up a screwdriver, decide what happens to the charger in the sale. There are three common answers.
Leave it. Zero work, and a buyer with a Tesla (or a J1772 car, if you have the Universal version) gets 48 A charging on day one. You pay for a new charger and install at the new place. With the Gen 3 at $585 on the Tesla Shop as of October 2026 and Tesla estimating $750 to $1,500 for installation, the charger is the smaller share of what a new setup costs.
Take the unit, leave the wirebox. You keep the part with the cable and electronics. The buyer is left with a wirebox that needs covering properly, and the new house needs a wirebox as well as a circuit. Check with Tesla before you leave the old wirebox behind, so you know how you'll get one for the new install.
Take everything. An electrician removes the unit and the wirebox, and either caps the conductors in a covered box or removes the circuit back to the panel. Cleanest for the buyer, most labor for you.

Whatever you choose, put it in writing. In most home sales, hardwired equipment is treated as a fixture that goes with the house unless the listing and purchase contract exclude it. Ask your agent how your state handles it before the listing goes live, not the week before closing.
Taking the main unit off a Gen 3
Tesla publishes a short procedure for replacing a Gen 3 unit, and the first half of it is the removal. In outline:
- Switch off the Wall Connector's breaker in the panel. The light bar on the unit should go dark.
- Remove the four screws holding the unit to the wirebox, two at the top and two at the bottom.
- Lift the unit straight off the wirebox.
That's the whole Tesla-documented part. It doesn't involve touching any conductor, and Tesla says a like-for-like swap doesn't need a Certified Installer. If anything looks scorched, loose or wet when the unit comes off, stop and call an electrician before going further.
With the unit off, the wirebox is still connected to a 240 V circuit that someone could switch back on. Don't leave it exposed. Leave the breaker off, tape a note to the breaker handle, and have an electrician cover or remove the wirebox before you hand over the keys.
What the electrician does with the circuit
You're not doing this part, but it helps to know what a proper job looks like so you can check the result. In outline, a licensed electrician will:
- Turn off the branch breaker and lock or tag it so it can't be switched on mid-job.
- Prove the circuit dead with a meter rather than trusting the panel label.
- Disconnect L1, L2 and ground from the wirebox terminals and take the wirebox off the wall.
- Either end the conductors in a covered junction box with a blank cover, or remove the circuit back to the panel and take out the breaker.
- Update the panel directory and patch the wall.

Ways to leave the circuit
| Option | What's left on the wall | Good when | Watch for |
|---|---|---|---|
| Covered junction box | A box with a blank cover, conductors capped inside | You may reuse the circuit later, or the buyer might add a charger | The NEC requires junction boxes to stay accessible, so don't plaster over it |
| Circuit removed | Nothing; breaker taken out | No plans for EV charging there | More labor, and a future charger means a new circuit |
| Converted to a receptacle | A 240 V outlet, often a NEMA 14-50 | The buyer has a portable charger | A garage 14-50 generally needs GFCI protection under the 2020 and 2023 NEC; see our NEMA 14-50 comparison |
| Swapped for a new Wall Connector | A replacement unit on the same wirebox | Leaving a working charger but keeping yours | The new unit must be commissioned to the existing breaker size |
Why the wiring isn't a DIY job
A Wall Connector circuit is normally a two-pole breaker of up to 60 A feeding copper conductors as heavy as 6 or 4 AWG. A mistake there can energize a metal box, start a fire inside a wall, or fail inspection when the house sells. Licensing rules for this work vary by state and town, and some areas want a permit even for removal. "Check local rules and hire a licensed electrician" is the honest answer, and it's also what a buyer's home inspector will want to see on paper.
Putting it back up at the new house
A Wall Connector moves well, but it isn't plug-and-play. Budget for:
- A new dedicated circuit. Each Wall Connector needs its own branch circuit, sized to the current you want. Our breaker size guide shows how breakers map to output, from 60 A giving 48 A down to 15 A giving 12 A.
- A wirebox, if you left the original behind.
- Commissioning. The maximum current is set in software during setup to match the new breaker, so the installer runs setup again in Tesla's app. You'll then reconnect it to your home Wi-Fi for firmware updates.
- Installation cost. The labor is the same as a new install; see what a Wall Connector install costs for current ranges.
Our Wall Connector installation guide covers the new circuit, conduit and permit side in detail.
Before-you-move checklist
- Decide take, leave or split, and write it into the listing and purchase contract.
- Confirm the generation from the label or faceplate. Gen 2 and Gen 1 units are electrician-only removals.
- Book a licensed electrician for the wirebox and circuit, and ask whether your area needs a permit.
- Keep the original invoice with the unit for warranty questions.
- Bag the four mounting screws with the unit, and coil the cable loosely without kinks.
- Remove the Wall Connector from your Tesla app at the old address, and add it again after commissioning at the new one.
- Leave the buyer a labeled breaker and a covered box, never loose wires.
Questions about taking a Wall Connector down
Can I remove a Tesla Wall Connector myself?
You can take a Gen 3 main unit off its wirebox yourself: Tesla's own replacement page lists breaker off, four screws out and the unit lifted off, with no Certified Installer needed. Disconnecting the circuit wires and capping them is different. That's 240 V branch-circuit work that many states and towns limit to licensed electricians or permit-holding homeowners, so check local rules and hire a licensed electrician.
Can I just switch off the breaker and leave the wires?
Not as a permanent answer. A breaker can be switched back on by anyone, including a buyer who doesn't know what it feeds. Loose conductors need to end in a covered junction box that stays accessible, or the circuit needs to be removed back to the panel. Ask the electrician to label the breaker clearly in the panel directory whichever way you go.
Do I need a permit to remove a Wall Connector?
It depends on where you live. Some jurisdictions treat disconnecting and capping a circuit as permitted work and others don't. Your electrician will know the local rule. Because installing the charger normally involved a permit and inspection (Tesla lists both as part of a standard install), ask whether removing the circuit needs to be closed out on the same record.
Should I leave my Tesla charger when I sell my house?
If the buyer drives a Tesla, or any EV with an adapter, a working Wall Connector is a selling point, and a Universal Wall Connector also charges J1772 cars directly. If you want to keep it, say so in the listing and the purchase contract, because hardwired equipment is usually treated as part of the house. Your agent can confirm how fixtures work in your state.
Can I reinstall my Wall Connector at the new house?
Yes. It needs a new dedicated circuit and, if you left the wirebox behind, a compatible wirebox. After installation it must be commissioned again, because the maximum current is set in software to match the new breaker. A 60 A breaker gives the full 48 A; a smaller breaker means a lower setting.
Does removing it affect the warranty?
Tesla's residential warranty runs 48 months from the invoice date. Tesla doesn't publish a clear rule on whether that coverage follows the unit to a new address or a new owner, so keep the original invoice with the unit and ask Tesla support before you rely on it. Having a licensed electrician do the reinstall avoids giving Tesla a reason to question a claim.
Sources
- Replacing a Wall Connector (Tesla), tesla.com
- Gen 3 Wall Connector Installation Manual: wiring and electrical requirements (Tesla), energylibrary.tesla.com
- Gen 3 Wall Connector warranty (Tesla), energylibrary.tesla.com
- Gen 2 Wall Connector Installation Manual (Tesla), digitalassets.tesla.com
- Home charging installation (Tesla), tesla.com
Independent site. Not affiliated with or endorsed by Tesla, Inc. Tesla, Wall Connector and Supercharger are trademarks of Tesla, Inc.