To remove a Tesla wall charger, turn off the circuit breaker, remove the four mounting screws using a Torx bit, disconnect the unit from the wall bracket, and properly cap exposed wires for safety.
Understanding Tesla Wall Chargers
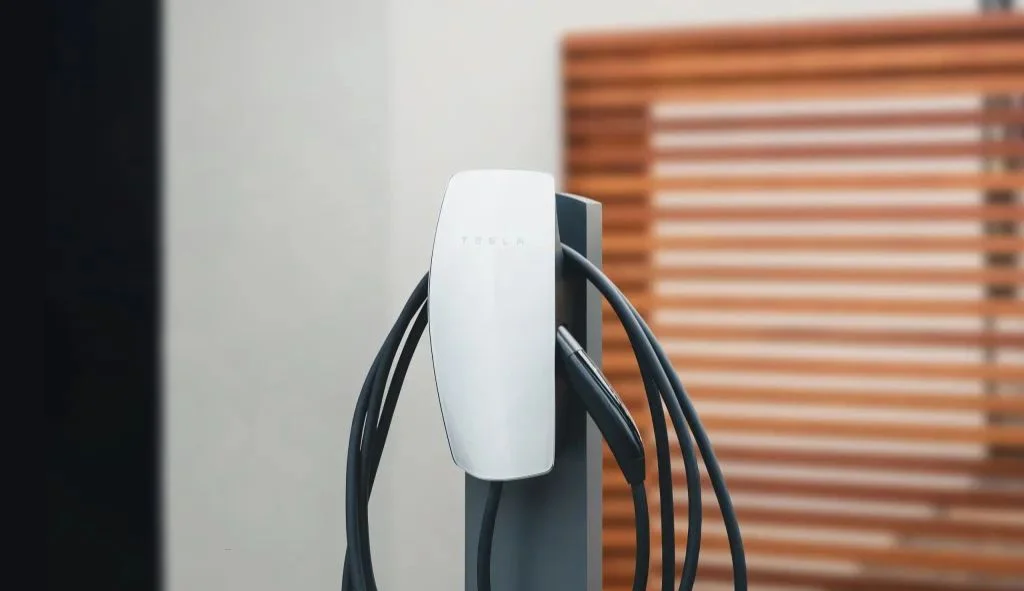
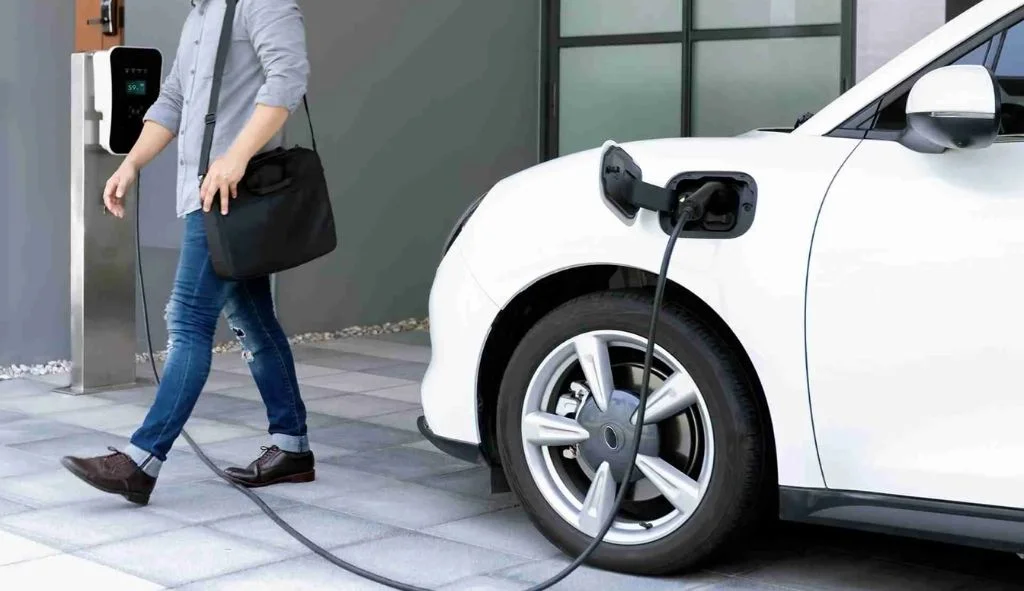
Tesla wall chargers provide convenient home charging solutions for Tesla vehicles. These wall-mounted charging units, also known as Wall Connectors, deliver faster charging speeds than the mobile connectors that come with the vehicles. When moving homes or upgrading your charging setup, you might need to remove your Tesla charger from the wall. This comprehensive guide walks you through the entire removal process, ensuring you can safely detach your wall charger without damaging the unit or the electrical system.
Types of Tesla Wall Connectors
Tesla has released multiple generations of Wall Connectors. The most common ones include:
- Gen 1 Wall Connector: The original model, now discontinued
- Gen 2 Wall Connector: An upgraded version with improved features
- Gen 3 Wall Connector: The latest model with Wi-Fi connectivity and power sharing capabilities
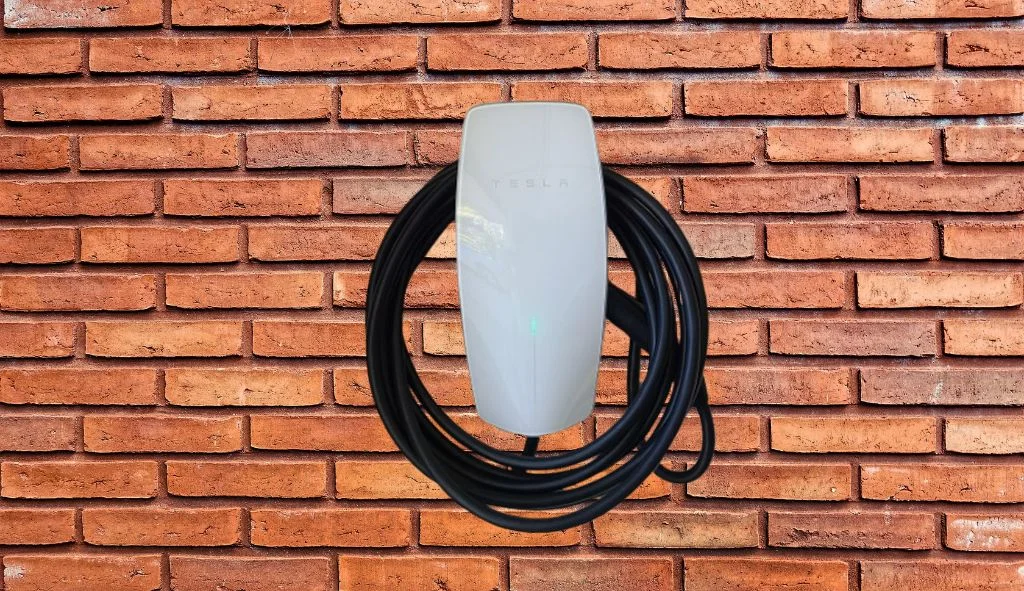
Each generation has slight differences in mounting and connection methods, but the general removal process remains similar. The Gen 3 Wall Connector uses a separate wire box (bracket) that stays mounted to the wall while the main unit can be detached. This design makes removal and reinstallation much simpler compared to earlier models.
Why Remove Your Tesla Charger?
There are several reasons you might need to remove your Tesla wall charger:
- Moving to a new home and wanting to take your charger with you
- Upgrading to a newer model of Wall Connector
- Relocating the charger to a different position in your garage
- Selling your home but wishing to keep the expensive charger component
Many Tesla owners choose to take their Wall Connectors when moving since these units represent a significant investment. The main unit with the charging cable costs around $335, while the wall bracket (wirebox) costs approximately $6520. Taking the main unit while leaving the bracket installed can be a cost-effective compromise when selling a home.
Safety Precautions Before Removal
Before attempting to remove your Tesla Wall Connector, safety must be your priority. Working with electrical components always carries risks, and proper precautions will protect both you and the equipment.
Turning Off Power
The first and most critical step is to completely shut off power to the Wall Connector:
- Locate the circuit breaker that supplies power to the Wall Connector
- Switch it to the OFF position
- Wait at least 5 minutes for the unit to fully de-energize
- Verify the Wall Connector shows no lights or signs of power
Never attempt to remove the Wall Connector while it’s energized. Electrical shock can cause serious injury or death. If you’re unsure which circuit breaker controls the charger, turn off the main power to be absolutely safe.
Required Tools and Equipment
To properly remove a Tesla Wall Connector, you’ll need:
- T10 Torx bit (for faceplate screws)
- 4mm hex bit or Allen wrench (for main unit mounting screws)
- Phillips or flathead screwdriver (depending on your model)
- Voltage tester or multimeter
- Electrical tape or wire nuts
- Container for storing screws
- Optional: camera or smartphone to document wire connections
Having all tools ready before starting will make the process smoother and safer. Some Tesla owners recommend using a quality tool set like the Wera tool set for easier disassembly.
Step-by-Step Removal Process
Removing a Tesla Wall Connector involves several distinct steps. This section breaks down the process into manageable phases to ensure a safe and successful removal.
Disconnect the Power
After turning off the circuit breaker, you need to verify that no power is flowing to the unit:
- Confirm the Wall Connector displays no lights
- If you have a voltage tester or multimeter, test for voltage at the terminals after removing the cover
- If any voltage is detected, return to the breaker panel and ensure you’ve turned off the correct circuit
“Use a properly rated voltmeter or multimeter to check for AC voltage between terminals L1 and L2. Ensure that the correct power breaker has been turned off to de-energize the Wall Connector.”
This verification step is crucial for your safety and should never be skipped, even if you’re confident you’ve turned off the correct breaker.
Remove the Faceplate
For Gen 3 Wall Connectors, the first component to remove is the faceplate:
- Use a T10 Torx bit to remove the two screws securing the faceplate to the main unit
- Push the faceplate slightly downward to release it from the two sliding tabs at the top
- Carefully remove the faceplate from the main unit
For older models, the process may differ slightly. Gen 2 Wall Connectors typically have a front cover secured by two screws with washers. After removing these screws, you’ll need to disconnect the white ribbon cable from the interior before fully releasing the cover.
Disconnect the Wiring
After removing the cover or faceplate, you’ll need to disconnect the internal wiring:
- Locate the terminal blocks where the electrical wires connect
- Loosen the screw that secures the yellow/green grounding wire
- Loosen the screws that secure the red L1 and black L2 wires
- Carefully remove each wire from its terminal
Take care when handling these wires, as they may still be live if the wrong breaker was turned off. Some models have ferrules (metal sleeves) on the wire ends that are one-time use only. If you plan to reinstall the unit later, be aware that these ferrules may need replacement.
Remove the Main Unit
Once all wiring is disconnected, you can remove the main unit from the wall:
- Use a 4mm hex bit to remove the four fasteners securing the main unit to the wirebox
- Carefully pull the main unit away from the wall bracket
- Set the main unit and charging cable assembly aside in a safe place
“The screws actually are kind of really small… they shouldn’t take too long. Get all these four screws off.”
For Gen 3 Wall Connectors, the expensive part (the main unit with charging cable) now separates from the wall-mounted bracket. Earlier models may require complete removal from the wall, including the back plate.
What to Do with the Exposed Wiring
After removing the Wall Connector, you’ll be left with exposed electrical wires. Proper handling of these wires is essential for safety.
Capping the Wires
The safest way to handle the exposed wires is to cap them individually:
- Apply wire nuts to each exposed wire end (typically red, black, and green/yellow ground wire)
- Ensure each wire is properly insulated and cannot contact other wires
- Never combine wires when capping them
“Put wire nuts on the end of each wire (don’t combine wires).”
This approach prevents accidental short circuits and maintains the electrical system’s safety until you either reinstall another charger or have an electrician properly terminate the circuit.
Junction Box Options
For a more permanent solution, you can install a junction box:
- Mount an appropriate junction box over the exposed wire location
- Secure all wires inside the box using wire nuts
- Attach the ground wire to the ground screw in the junction box
- Install a blank cover plate over the junction box
“You should instead add a junction box and use a blue 454 wire nut on each of the wires and wire the ground to the ground screw in the junction box.”
This method provides better protection and complies with electrical codes in most jurisdictions. If you’re selling your home, this approach looks more professional and reassures potential buyers about the electrical system’s safety.
Reinstalling Your Tesla Charger in a New Location
One of the main reasons for removing a Tesla Wall Connector is to reinstall it elsewhere. Understanding the reinstallation process helps ensure you preserve all necessary components during removal.
Preparation for New Installation
Before reinstalling your Wall Connector at a new location, you’ll need:
- A new wirebox kit if you left the original bracket behind (available from Tesla for about $65)20
- Confirmation that the new location has appropriate electrical service
- Verification that the circuit has the correct amperage for your Wall Connector model
- An inspection of the Wall Connector for any damage that occurred during removal or transport
If you’re moving to a rental property, discuss the installation with your landlord beforehand. Many landlords are amenable to EV charging installations as they increase property value, but you should get permission before making any electrical modifications.
Installation Process
The installation process essentially reverses the removal steps:
- Mount the wirebox at the new location
- Connect the electrical wiring to the terminals
- Attach the main unit to the wirebox using the four mounting screws
- Install the faceplate
- Turn on power at the circuit breaker
- Test the unit to ensure proper functioning
For Gen 3 Wall Connectors, you’ll also need to connect to Wi-Fi and complete the setup process via the mobile app. This step is necessary for the charger to function correctly and receive firmware updates.
Alternative Options
If removing your Tesla Wall Connector seems too complicated or unnecessary, consider these alternatives.
Leaving the Charger Behind
In some situations, leaving the Wall Connector installed when moving might make sense:
- It can increase your home’s value for EV-owning buyers
- The cost of professional removal might approach the price of a new unit
- Installation is already complete and certified for the next homeowner
- You can negotiate the charger’s value into the home sale price
“We will probably remove the charger before listing the house. The Tesla Wall Connector is mainly useful for someone who owns a Tesla, so I think it’s best to leave the space open for whichever charger the new owners might prefer.”
When selling your home, consider whether removing the charger will negatively impact potential buyers who own electric vehicles. Some sellers include the charger as a selling point, while others prefer to take it with them.
Using a NEMA 14-50 Instead
For those who move frequently, a more flexible charging solution might be preferable:
- Install a NEMA 14-50 outlet instead of a hardwired Wall Connector
- Use Tesla’s Mobile Connector with the appropriate adapter
- This setup allows easy unplugging when moving and provides a universal outlet for the next resident
“If you’re going to be moving constantly, consider just using a NEMA 14-50 plug on the wall and the wall connector. You can just unplug/plug and take it with you easier, and you leave a plug for the next renter to use if he has an EV.”
While this approach provides slightly slower charging speeds, the convenience and flexibility make it worth considering for those who don’t plan to stay in one location long-term.
FAQs About Removing Tesla Wall Chargers
Can I remove a Tesla Wall Connector myself or do I need an electrician?
You can remove a Tesla Wall Connector yourself if you’re comfortable working around electrical systems and follow proper safety procedures. The process involves turning off power, removing mounting screws, and disconnecting wires. However, if you’re unsure about electrical work, hiring a professional electrician is the safest option.
What should I do with the wires after removing the Wall Connector?
After removing the Wall Connector, cap each wire individually with wire nuts and secure them in a junction box with a blank cover plate. Never leave exposed wires, and don’t combine wires when capping them.
Will removing my Tesla Wall Connector damage it?
When removed properly, a Tesla Wall Connector should not sustain damage. Take care with the ribbon cable when removing the cover, and handle the unit gently. Note that some models have one-time-use ferrules on the wire ends that may need replacement before reinstallation.
How much does a replacement Tesla Wall Connector cost?
A new Tesla Wall Connector costs approximately $400. The main unit with the charging cable represents about $335 of that cost, while the wall bracket (wirebox) costs around $65. This price difference explains why many owners choose to take just the main unit when moving.
Can I convert my hardwired Wall Connector installation to a NEMA outlet?
Yes, but this requires changing the circuit breaker to match the outlet’s rating. A 60A circuit used for a Wall Connector would need to be downgraded to a 50A breaker for a NEMA 14-50 outlet. This modification should be performed by a licensed electrician.
Does removing a Wall Connector affect home value?
Having EV charging infrastructure can positively impact home value, particularly in areas with high EV adoption. However, the electrical wiring itself (which represents the most significant installation cost) remains valuable to potential buyers even if the Wall Connector is removed. You can market your home as “EV-ready” or “pre-wired for EV charging.”
How long does it take to remove a Tesla Wall Connector?
For someone comfortable with basic tools, removing a Tesla Wall Connector typically takes 15-30 minutes once the power is turned off. The most time-consuming part is usually ensuring the power is properly disconnected and safely capping the exposed wires afterward.