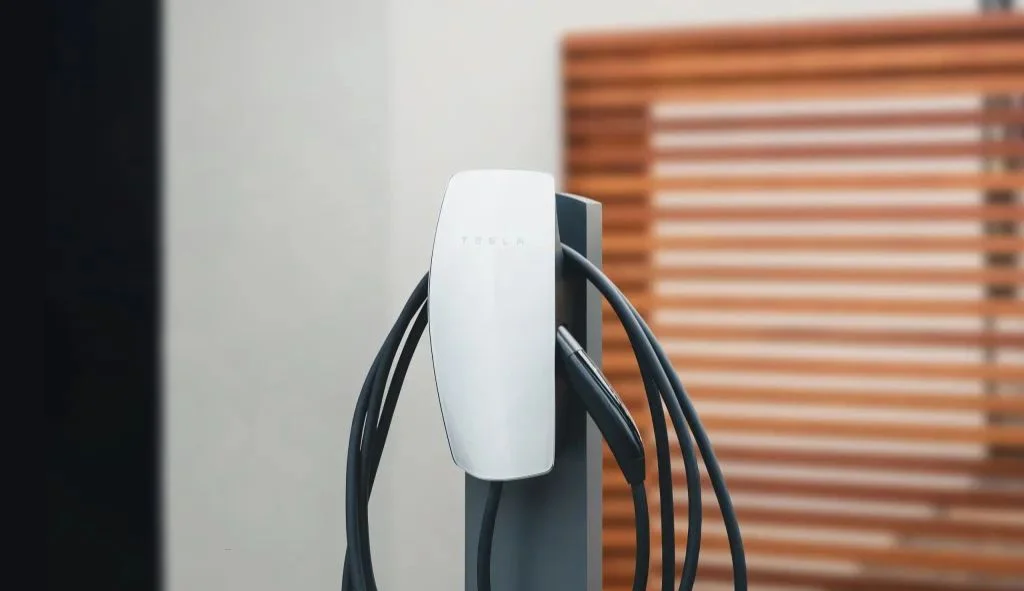
To connect Tesla Wall Charger to WiFi, enable WiFi broadcasting by pressing the charging handle button for 5 seconds, connect to its network, and configure settings at http://192.168.92.1.
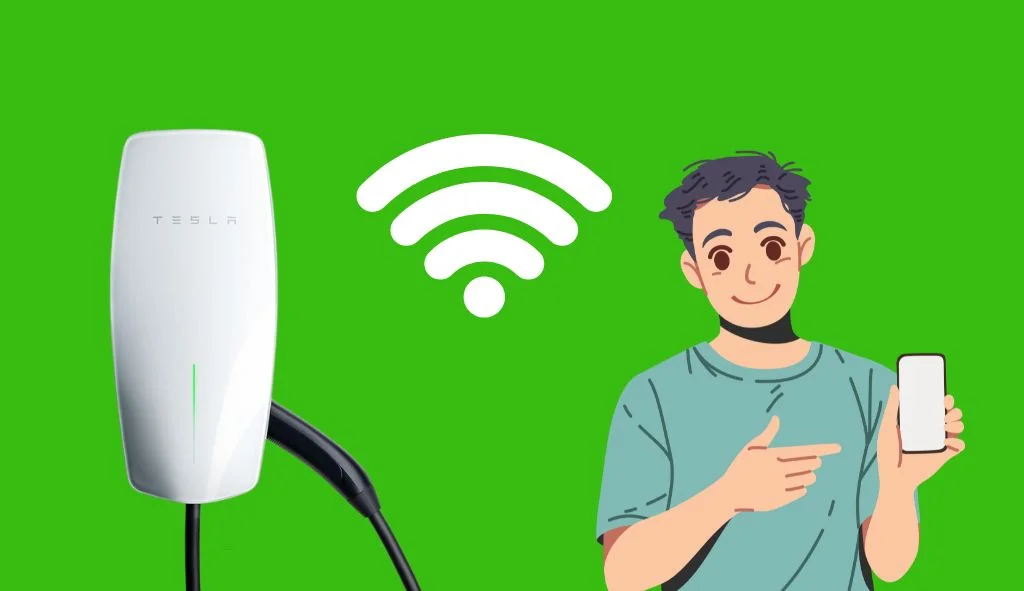
The Tesla Wall Connector (Gen 3) requires a WiFi connection to receive firmware updates, enable power sharing features, and allow you to monitor charging status through the Tesla app. While the process might seem technical, this guide breaks it down into simple steps that anyone can follow. Whether you’ve just installed your Wall Connector or have been using it without WiFi connectivity, these instructions will help you get it connected properly. Even if you’ve tried before and encountered problems, the troubleshooting section will address common issues and their solutions.
Understanding Tesla Wall Connector WiFi Requirements
Before attempting to connect your Tesla Wall Connector to WiFi, it’s essential to understand its technical requirements and limitations. This will save you time and prevent frustration during the setup process.
Compatible WiFi Networks
The Tesla Wall Connector has specific network requirements that must be met for successful connection. According to the search results, the Wall Connector only supports:
- 2.4 GHz WiFi networks (5 GHz is not supported)
- WPA2/WPA3-secured networks
- 802.11 infrastructure mode networks
- Password-protected networks
It’s important to note that the Wall Connector does not support networks without password protection or those with captive portals (like hotel WiFi where you need to log in through a web page).
Hardware Requirements
To set up your Wall Connector’s WiFi connection, you’ll need:
- A mobile device (smartphone or tablet) with WiFi capabilities
- Access to your home WiFi network name and password
- The Wall Connector’s Quick Start Guide with the QR code and WPA2 password
- Access to the circuit breaker that powers the Wall Connector (optional, but helpful)
If you’ve lost your Quick Start Guide, you can create a support request from the Contact Support option in the Tesla app to get the necessary information.
Preparing for Connection
Before starting the WiFi connection process, there are several preparation steps to ensure a smooth setup experience.
Check Your Home WiFi Setup
Since the Tesla Wall Connector only works with 2.4 GHz networks, you’ll need to make sure your home router is broadcasting on this frequency. Many modern routers are dual-band, broadcasting both 2.4 GHz and 5 GHz under the same network name.
If you have a dual-band router, you might need to:
- Create a separate 2.4 GHz network with its own name
- Temporarily disable the 5 GHz band during setup
- Check your router settings to ensure it’s using WPA2 or WPA3 security
Some users have reported issues with certain router features, so you may also want to:
- Disable MAC address filtering temporarily
- Ensure your firewall isn’t blocking the connection
- Turn off any guest network restrictions
Position for Optimal WiFi Signal
The Wall Connector needs a reasonably strong WiFi signal for reliable operation:
- Check the WiFi signal strength in your garage or installation location
- Consider installing a WiFi extender if the signal is weak
- Make sure there aren’t too many physical barriers between your router and the Wall Connector
Gather Necessary Information
Before beginning the setup process, have the following information ready:
- Your home WiFi network name (SSID)
- Your home WiFi password
- The Wall Connector’s Quick Start Guide with the QR code and password
Step-by-Step Connection Process
The process of connecting your Tesla Wall Connector to WiFi involves several distinct steps. Following them in order will ensure successful connection.
Enable WiFi Broadcasting on the Wall Connector
The first step is to put your Wall Connector into WiFi broadcasting mode. There are two ways to do this:
Method 1: Using the Circuit Breaker
- Locate the circuit breaker that powers your Wall Connector
- Turn the breaker to the OFF position
- Wait for 5-10 seconds
- Turn the breaker back to the ON position
- Watch for the pulsing green LED on the Wall Connector’s light bar, indicating it’s broadcasting WiFi
Method 2: Using the Charging Handle Button
- Press and hold the button on the charging cable handle for 5-10 seconds
- Release the button when you see all the light bars illuminate
- The Wall Connector will display a pulsing green LED, indicating it’s in WiFi broadcasting mode
Remember, the Wall Connector will only broadcast its WiFi signal for 15 minutes once enabled. If you need more time, you’ll need to repeat this process.
Connect Your Mobile Device to the Wall Connector
Once the Wall Connector is broadcasting its WiFi signal, you’ll need to connect your mobile device to it:
- On your smartphone or tablet, go to WiFi settings
- Look for a network named “TeslaWallConnector_XXXXXX” (where XXXXXX is a unique six-digit code)
- Select this network to connect to it
- When prompted, enter the 12-digit WPA2 password found on the Quick Start Guide
- Ensure you enter the password exactly as shown, including correct capitalization (it’s case-sensitive)
- Your device might show a message that this network has “No internet connection” – select “Always Connect” anyway
If your device doesn’t connect, try toggling your WiFi off and back on, or restart your mobile device and try again.
Access the Web Interface
After successfully connecting to the Wall Connector’s WiFi network, you need to access its web interface:
- Open a web browser on your connected mobile device
- There are two ways to access the interface:
- Scan the QR code on the Quick Start Guide
- Manually type http://192.168.92.1 in your browser’s address bar
- If successful, you’ll see a screen showing information about your Wall Connector, including its part number, serial number, and installation status
- If you see an “Unauthenticated” error, ensure you’re still connected to the Tesla Wall Connector WiFi and try refreshing the page
Connect to Home WiFi Network
Once you’ve accessed the Wall Connector’s web interface, you can proceed to connect it to your home WiFi network.
Selecting Your Home WiFi Network
- On the Wall Connector web interface, locate and tap on the “WiFi” option (it may be next to “Alerts”)
- The Wall Connector will scan for available WiFi networks
- From the list of available networks, find and select your home WiFi network
- Make sure you’re selecting a 2.4 GHz network (if your router broadcasts both 2.4 GHz and 5 GHz)
Entering Network Credentials
- When prompted, enter your home WiFi network password
- Be careful to enter it exactly as it is, including the correct capitalization
- Tap “Connect” or “Join”
- Wait for the connection process to complete
Verifying Connection
After entering your credentials:
- The Wall Connector will attempt to connect to your home WiFi
- If successful, you’ll see confirmation on the screen
- The interface should show “Connected to Internet” and “Connected to Tesla” with check marks
- You can verify the connection by checking if your Wall Connector has received an IP address on your network
If the connection is successful, your Wall Connector will now be able to receive firmware updates automatically and can be managed through the Tesla app.
Registering in the Tesla App
After connecting your Wall Connector to your home WiFi, the next step is to register it in the Tesla app for remote control and monitoring.
Setting Up in the Tesla App
- Download and open the Tesla app on your smartphone (if you haven’t already)
- Sign in with your Tesla account credentials (create an account if you don’t have one)
- Tap the menu icon in the top-right corner
- Select “Add Product”
- Follow the in-app steps to scan your Wall Connector QR code from your Quick Start Guide
- When prompted, accept the request to join the Wall Connector’s WiFi network
Completing Registration
- Once connected to the Wall Connector, the app will guide you through the registration process
- Connect your Wall Connector to your home WiFi network by following the prompts
- The process may take up to five minutes; keep the Tesla app open
- After successful registration, your Wall Connector will appear in the Tesla app
Firmware Updates
During the registration process, the app might prompt you to update the Wall Connector’s firmware:
- If an update is available, follow the prompts to install it
- Wait for the update to complete (do not interrupt this process)
- The Wall Connector may restart after the update
- Continue with the setup process once the update is complete
Using Wall Connector Features in the Tesla App
After successful registration, you can access various features of your Wall Connector through the Tesla app.
Monitoring Charging Status
The Tesla app allows you to:
- View real-time charging status
- See the power (kW) being delivered to your vehicle
- Monitor energy (kWh) consumed during each charging session
- Check estimated miles of range added per hour of charging
Managing Charging Schedule
You can create and manage charging schedules directly from the app:
- Set up custom charging schedules
- Accept the default off-peak charge schedule
- Override scheduled charging by tapping “Start Charging” when needed
Note that your electric vehicle may also have its own charging schedule settings. Make sure the Wall Connector and vehicle settings allow charging during the same time periods.
Viewing Charging History
The app provides detailed charging history:
- Access up to 12 months of charging history
- View a list of all charging sessions
- See details such as charge duration and energy (kWh) delivered
- Track your charging patterns and energy usage over time
Troubleshooting Common Connection Issues
Despite following all the steps correctly, you might encounter issues when trying to connect your Tesla Wall Connector to WiFi. Here are solutions to common problems.
Wall Connector Not Broadcasting WiFi
If your Wall Connector isn’t broadcasting its WiFi signal:
- Ensure the Wall Connector is properly powered
- Try both methods of enabling WiFi broadcasting (circuit breaker cycling and button hold)
- Check if the light bar shows a pulsing green LED
- If there’s no response, contact Tesla Support as there might be a hardware issue
Can’t Connect to Wall Connector WiFi
If you can’t connect to the Wall Connector’s WiFi network:
- Make sure you’re selecting the correct network (TeslaWallConnector_XXXXXX)
- Double-check the 12-digit WPA2 password from the Quick Start Guide
- Enter the password exactly as shown, respecting uppercase and lowercase letters
- Turn off your phone’s cellular data temporarily
- Disable MAC address randomization for the connection in your phone’s advanced WiFi settings
- Try restarting your mobile device
“Unauthenticated” Error When Accessing Web Interface
If you see an “Unauthenticated” error when trying to access http://192.168.92.1:
- Verify you’re still connected to the Wall Connector’s WiFi network
- Try refreshing the page
- Clear your browser cache
- Try a different browser
- Restart the Wall Connector by cycling the circuit breaker
Wall Connector Can’t Find Home WiFi
If your Wall Connector doesn’t detect your home WiFi network:
- Check if your router is broadcasting on 2.4 GHz frequency
- Ensure your router isn’t too far from the Wall Connector
- Temporarily disable any MAC filtering on your router
- Make sure your network name doesn’t contain special characters
- Consider setting up a WiFi extender if signal strength is low
Can’t Connect to Home WiFi Network
If your Wall Connector detects but can’t connect to your home WiFi:
- Double-check your WiFi password
- Verify your router’s security is set to WPA2 or WPA3 (not WEP or open)
- Temporarily disable WPA3 if your router uses it, as some Wall Connectors work better with WPA2
- Check if your router has MAC filtering enabled and add the Wall Connector’s MAC address to the allowed list
- Ensure your router isn’t using a captive portal for authentication
“Product Already Registered” Error
If you receive a “Product Already Registered” error during setup:
- Check if anyone else in your household has already registered the Wall Connector
- Sign out of the Tesla app and sign back in
- Wait about 10 minutes and try again
- Contact Tesla Support if the issue persists
Advanced Features and Considerations
Beyond basic connectivity, the Tesla Wall Connector offers additional features and considerations worth understanding.
Power Sharing Configuration
If you have multiple Wall Connectors, you can configure power sharing:
- Connect each Wall Connector to the same WiFi network
- Use the web interface to set up power sharing
- Designate one unit as the primary and others as secondaries
- Set the maximum circuit breaker rating to prevent overloading your electrical panel
Power sharing allows up to 16 Wall Connectors to intelligently distribute available power without exceeding your electrical capacity.
Circuit Breaker Rating and Amperage Settings
During setup, you’ll need to configure your Wall Connector with the correct electrical settings:
- Set the correct circuit breaker rating (typically 60A for a 48A output)
- Configure the maximum output amperage based on your vehicle’s capabilities
- For Tesla Model 3 and Y, the maximum is typically 48A (requiring a 60A circuit)
- Older Tesla models might have different amperage requirements
Setting these values correctly is crucial for safe operation and optimal charging performance.
Software Updates
One of the benefits of connecting your Wall Connector to WiFi is automatic software updates:
- Updates are delivered automatically when connected to the internet
- New features and functionality are added over time
- Security and performance improvements are included
- If WiFi is unavailable, manual updates are possible but more complicated
FAQs
Why won’t my Tesla Wall Connector connect to my WiFi network?
The most common reasons include incompatible WiFi frequency (5 GHz instead of 2.4 GHz), WPA3 security settings, incorrect password entry, weak signal strength, or MAC address filtering on your router. Check each of these factors and adjust as needed.
Does the Tesla Wall Connector need WiFi to work?
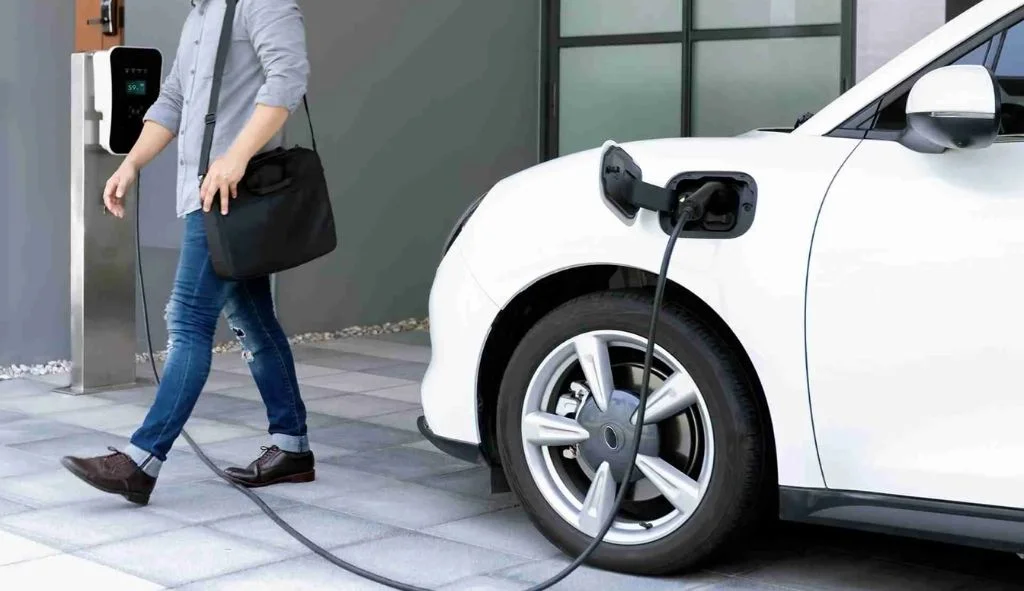
No, the Wall Connector will charge your vehicle without WiFi. However, without WiFi, you won’t receive automatic firmware updates, be able to monitor charging remotely through the Tesla app, or use advanced features like power sharing between multiple units.
What should I do if I’ve lost my Wall Connector Quick Start Guide with the WiFi password?
If you’ve lost your Quick Start Guide, you can create a support request from the Contact Support option in the Tesla app. Tesla Support can provide you with the necessary information to connect to your Wall Connector.
Can I connect my Tesla Wall Connector to a guest WiFi network?
It’s not recommended to connect to guest networks as they often have limitations that can prevent proper functioning. The Wall Connector works best with a standard home WiFi network with WPA2 security and without captive portals or time-limited access.
How do I check if my Wall Connector is connected to WiFi?
Once set up, you can verify connection status through the Tesla app. Alternatively, you can reconnect to the Wall Connector’s web interface and check the WiFi section, which should show “Connected to Internet” and “Connected to Tesla” with check marks.
Can I change the WiFi network my Wall Connector is connected to?
Yes, you can change the WiFi network by repeating the connection process. Enable WiFi broadcasting on the Wall Connector, connect to its network, access the web interface, and select a different WiFi network from the available options.
My router broadcasts both 2.4 GHz and 5 GHz under the same name. How do I connect?
Some users have reported success by temporarily disabling the 5 GHz band on their router during setup. After connection is established, you can re-enable the 5 GHz band. Alternatively, you might need to create a separate network name specifically for the 2.4 GHz band.
How do I reset my Wall Connector’s WiFi settings?
To reset the WiFi settings, turn off the circuit breaker powering the Wall Connector, wait 15 seconds, then turn it back on. Alternatively, press and hold the button on the charging handle for 10 seconds until all lights illuminate. This will allow you to start the WiFi setup process again.