Tesla wall charger installation requires a 60-amp circuit breaker, 6-gauge wiring, and proper mounting near your electrical panel. This comprehensive guide covers all necessary steps for safely setting up your home charging system.
Understanding Tesla Wall Charger Basics
The Tesla Wall Connector provides an efficient and convenient way to charge your Tesla vehicle at home. Before starting the installation process, it’s important to understand what you’re working with and the benefits it offers compared to standard charging options.
What is a Tesla Wall Connector
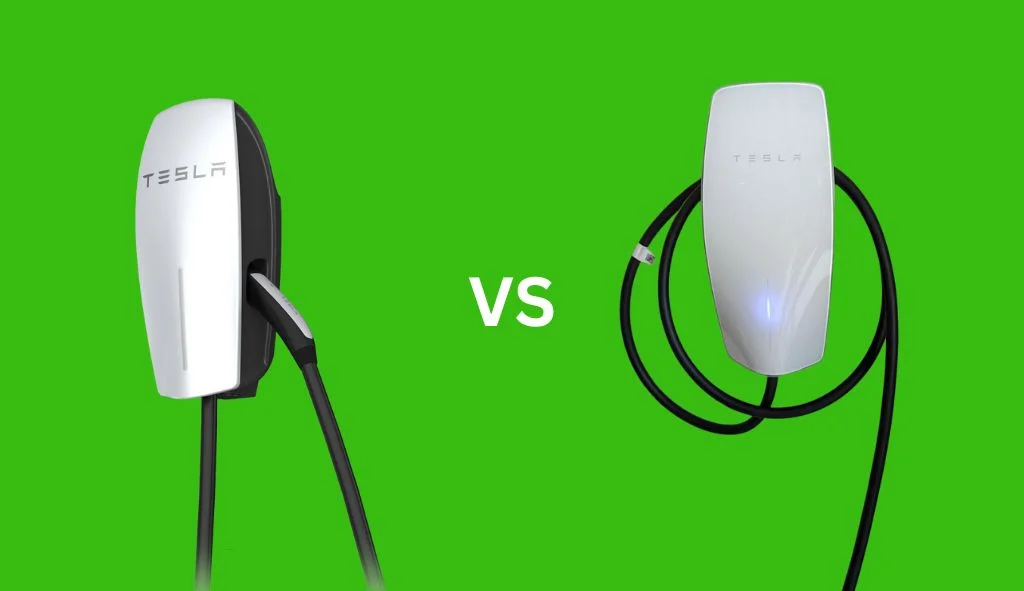
The Tesla Wall Connector is a home charging station designed specifically for Tesla vehicles. The latest generation (Gen 3) features a sleek, compact design with integrated terminals that provide plenty of room for wiring connections. The Wall Connector offers charging speeds up to 48 amps when installed on a 60-amp circuit, delivering approximately 44 miles of range per hour of charging for most Tesla models.
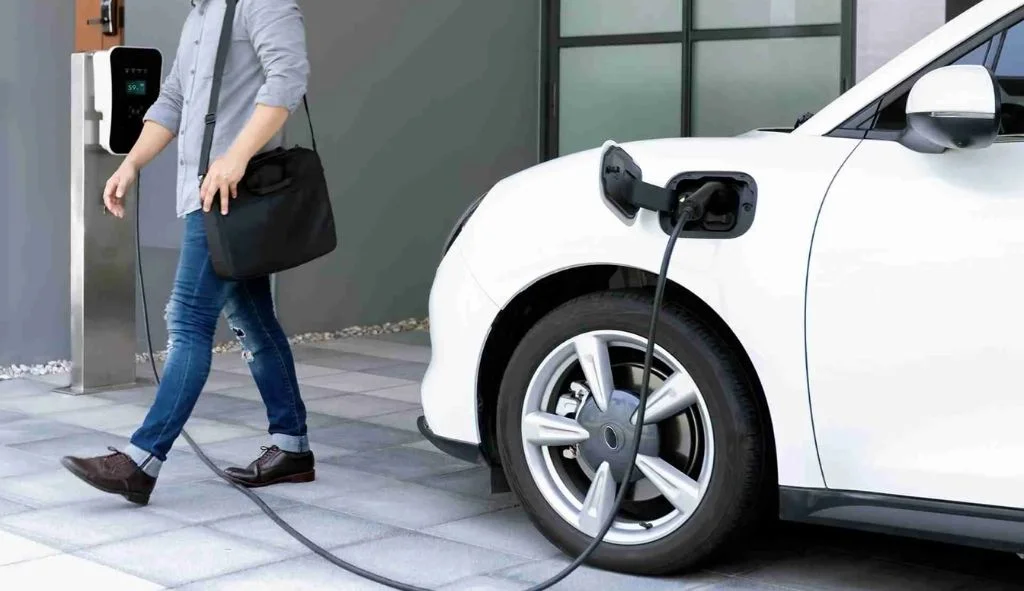
Unlike the mobile connector that comes with your Tesla, the Wall Connector is permanently installed at your home. It includes features like Wi-Fi connectivity for firmware updates, power management capabilities, and the ability to link multiple chargers together if you own more than one Tesla vehicle.
Benefits of Home Installation
Installing a Tesla Wall Connector at your home provides several advantages over relying on public charging stations or using the standard mobile connector:
- Faster charging speeds (up to 48 amps compared to 32 amps with a NEMA 14-50 outlet)
- Convenience of waking up to a fully charged vehicle every morning
- No need to handle charging cables from storage each time
- Ability to schedule charging during off-peak electricity hours
- Automatic firmware updates through Wi-Fi connectivity
- Increased home value for potential buyers who own electric vehicles
- Integration with the Tesla app for monitoring charging status
Pre-Installation Planning
Proper planning is crucial for a successful and safe installation. This section covers the key considerations before beginning your installation project.
Electrical Requirements and Specifications
The Wall Connector requires specific electrical specifications to function properly and safely:
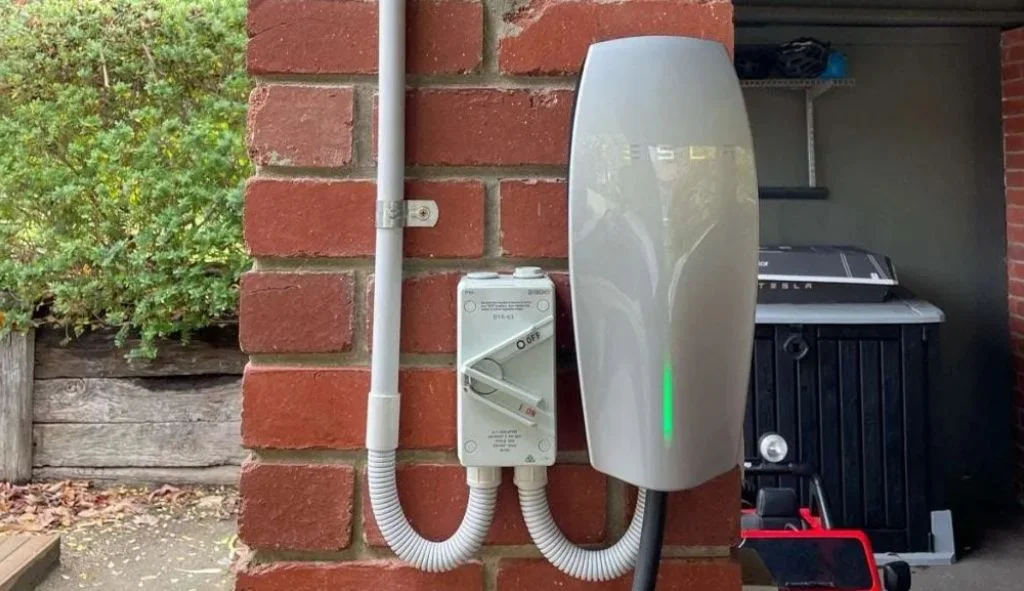
- Circuit Breaker: A dedicated 60-amp circuit breaker is recommended for maximum charging speed (48 amps). You can use smaller breakers (50-amp for 40-amp charging or 40-amp for 32-amp charging) if your electrical panel cannot support a 60-amp circuit.
- Wiring: 6-gauge wire is required for a 60-amp circuit. This can be either 6-gauge THHN wire run through conduit or 6/2 Romex cable if being run inside walls.
- Voltage: 240-volt supply (two hot wires each carrying 120V).
- Ground Wire: A proper ground connection is essential for safety.
Before starting, you should check your home’s electrical capacity. Most modern homes have 200-amp service, which can typically handle the addition of a 60-amp circuit. However, if your home has 100-amp service or you have many high-power appliances, you may need to consult an electrician to determine if your system can support the additional load.
Choosing the Right Location
The location of your Wall Connector is important for both convenience and installation cost:
- Proximity to Electrical Panel: The closer your Wall Connector is to your main electrical panel, the easier and less expensive the installation will be.
- Parking Position: Mount the charger where the charging port on your Tesla will be when parked. Consider the length of the charging cable (about 24 feet).
- Cable Management: Ensure there’s a way to neatly store the cable when not in use.
- Weather Protection: If installing outdoors, ensure the location is protected from direct weather exposure, though the Wall Connector is rated for outdoor use.
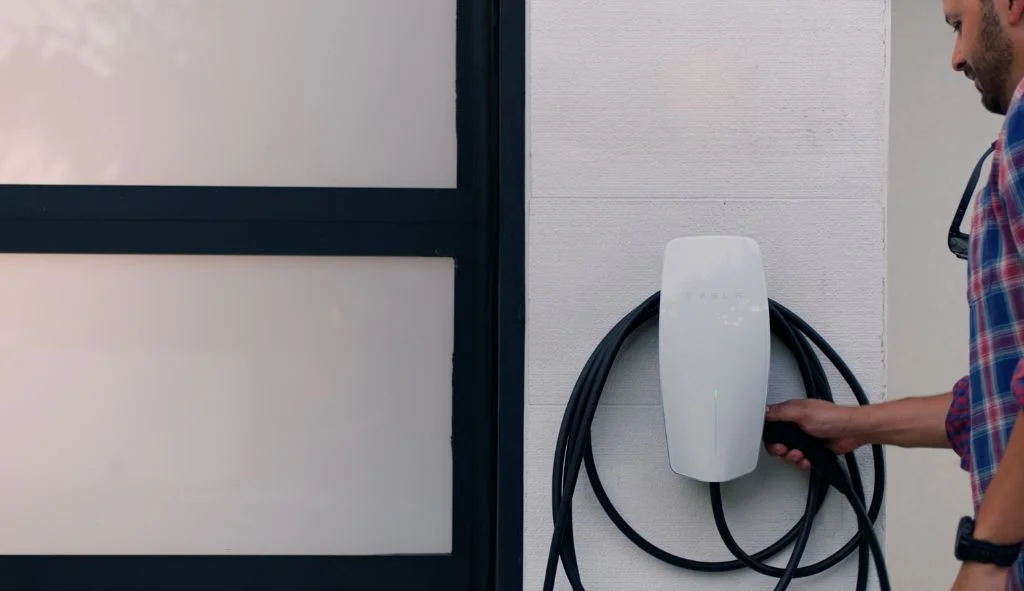
- Height: Mount the unit at a comfortable height for connecting to your vehicle, typically about 4 feet from the ground.
- Accessibility: Ensure the location allows for easy access to your vehicle’s charging port.
DIY vs Professional Installation
While many homeowners with electrical experience can install a Wall Connector themselves, there are important considerations when deciding between DIY and professional installation:
DIY Installation:
- Requires understanding of electrical codes and safety procedures
- May void warranty if not done correctly
- Saves labor costs but requires time and proper tools
- Must comply with local building codes and may require permits
Professional Installation:
- Ensures compliance with all electrical codes and safety standards
- Often includes warranty on the installation work
- Tesla offers a network of certified installers
- May be required by some local jurisdictions
If you’re uncertain about your ability to safely complete the installation, it’s better to hire a licensed electrician. Tesla partners with local installers who are familiar with the specific requirements of the Wall Connector.
Required Tools and Materials
Having the right tools and materials ready before starting will make your installation process much smoother.
Wiring and Circuit Requirements
For a standard Wall Connector installation, you’ll need:
- 6-gauge copper wire (THHN if using conduit, Romex if inside walls)
- 60-amp double-pole circuit breaker compatible with your electrical panel
- Conduit (if running wires outside walls): PVC, EMT, or rigid metal depending on your installation environment
- Conduit fittings, connectors, and junction boxes as needed
- Wire nuts and electrical tape
- Weatherproof box if installing outdoors
The amount of wire and conduit needed will depend on the distance between your electrical panel and the Wall Connector location. Measure this distance carefully and add about 20% extra to account for bends and connections.
Essential Tools for Installation
The following tools are necessary for a proper installation:
- Drill with masonry bits (if mounting on brick or concrete)
- Hammer drill (for mounting on brick or concrete walls)
- Step drill bit for creating holes in the Wall Connector
- Wire strippers capable of handling 6-gauge wire
- Phillips and flathead screwdrivers
- Torque screwdriver (for precise tightening)
- Stud finder (to locate wall studs)
- Level (to ensure proper alignment)
- Voltage tester (to verify power is off)
- Fish tape (for pulling wire through walls or conduit)
- Conduit bender (if using metal conduit)
- Saw or pipe cutter (for cutting conduit to length)
- Measuring tape
Step-by-Step Installation Process
With planning complete and tools ready, you can begin the actual installation process. Follow these steps carefully to ensure a safe and successful installation.
Prepare Your Electrical Panel
Safety is paramount when working with your home’s electrical panel:
- Turn off the main power to your house at the electrical panel. Verify power is off using a voltage tester.
- Remove the panel cover by unscrewing the mounting screws.
- Identify where you’ll install the new 60-amp double-pole breaker. You’ll need two adjacent slots in your panel.
- If your panel is full, you may need to install a sub-panel or use tandem breakers to create space (consult an electrician if unsure).
- Locate or create an appropriate knockout in the panel for your wiring to enter.
- If using conduit, attach the appropriate fitting to the panel at the knockout location.
Run the Wiring
The next step involves running the wiring from your electrical panel to the Wall Connector location:
- Measure and cut the conduit to the appropriate length if using conduit.
- Install the conduit and fittings between the electrical panel and the Wall Connector location, securing with appropriate brackets every 3 feet.
- Use fish tape to pull the wires through the conduit: two hot wires (typically red or black) and one ground wire (typically green or bare copper).
- If running through walls, use a stud finder to locate wall studs and drill appropriate holes to feed the wire.
- Ensure all connections are secure and that the conduit is properly supported along its entire length.
- Leave enough wire at both ends (about 18 inches) to make connections.
Mount the Wall Connector
With the wiring in place, you can now mount the Wall Connector:
- Unpack the Wall Connector and review the included installation manual.
- Separate the faceplate from the main unit by removing the screws at the bottom.
- Use the mounting template or the back of the Wall Connector to mark the hole locations on the wall.
- For drywall installation, locate studs and use appropriate anchors. For masonry, use a hammer drill with masonry bits to create holes for concrete anchors.
- If bringing wiring through the wall, create an appropriate hole aligned with the rear entry point on the Wall Connector.
- For external wiring, use the appropriate knockout on the Wall Connector (top, bottom, or back) and install a conduit fitting.
- Mount the back portion of the Wall Connector to the wall, making sure it’s level.
- Secure the unit with appropriate screws and anchors.
Connect the Wiring
Now it’s time to connect the wiring to both the electrical panel and the Wall Connector:
- At the Wall Connector, strip the ends of the wires to the appropriate length (usually about 3/4 inch).
- Connect the ground wire to the ground terminal (typically labeled with a ground symbol or “G”).
- Connect the two hot wires to the L1 and L2 terminals. Since this is a 240V connection, there is no neutral wire needed.
- Ensure all connections are tight according to the torque specifications in the manual (typically 50 inch-pounds).
- At the electrical panel (with power still off), connect the ground wire to the ground bus bar.
- Connect the two hot wires to the new 60-amp circuit breaker.
- Double-check all connections for tightness and proper placement.
- Replace the cover on the Wall Connector and secure with the provided screws.
- Replace the electrical panel cover.
Configure and Test
With the physical installation complete, it’s time to configure and test the Wall Connector.
Setting Up Wi-Fi Connection
The Gen 3 Wall Connector features Wi-Fi connectivity for firmware updates and remote monitoring:
- Download the Tesla One app on your mobile device.
- Power on the Wall Connector by turning on the circuit breaker.
- Open the Tesla One app and tap “Begin” on the install page.
- Scan the QR code from the QuickStart guide or the back of the Wall Connector.
- Follow the app instructions to connect the Wall Connector to your home Wi-Fi network.
- Set the circuit breaker rating and output amperage according to your installation specifications.
- The app will confirm when setup is complete.
Using the Tesla App for Setup
After setting up with the Tesla One app, residential customers can register their Wall Connector in the main Tesla app:
- Open the Tesla app on your smartphone.
- Navigate to the charging section.
- Add the new Wall Connector to your account.
- Once registered, you’ll be able to view charging stats and history through the app.
- You can also schedule charging times and receive notifications when charging is complete.
Testing the Charger
Before regular use, it’s important to verify that the Wall Connector is functioning properly:
- Ensure the circuit breaker is turned on.
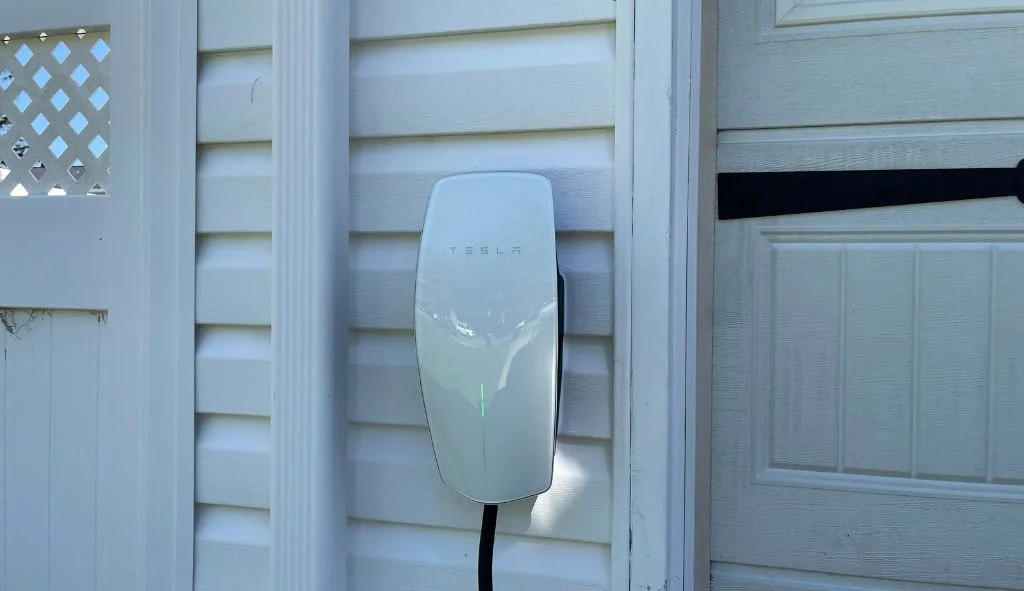
- Check the indicator lights on the Wall Connector – you should see a solid green light indicating it’s ready to charge.
- Plug the connector into your Tesla vehicle.
- Verify that charging begins and that the vehicle’s display shows the expected charging rate.
- Monitor the initial charging session to ensure there are no issues.
- If using the Tesla app, confirm that the charging status is correctly displayed.
Here is the complete installation video:
Troubleshooting Common Issues
Even with careful installation, you might encounter some issues with your Wall Connector. Here are solutions to common problems.
Common Installation Problems
If your Wall Connector isn’t working properly, check these common issues:
- No Power to the Wall Connector:
- Verify the circuit breaker is on and hasn’t tripped.
- Check all connections at both the electrical panel and Wall Connector.
- Test the voltage with a multimeter to confirm 240V is present.
- Charging at Lower Speed Than Expected:
- Verify the amperage setting in the Tesla One app matches your circuit capacity.
- Check for voltage drop if using a long wire run.
- Ensure no other high-power devices are sharing the circuit.
- Wi-Fi Connection Issues:
- Move your router closer or use a Wi-Fi extender if signal strength is poor.
- Verify your Wi-Fi password was entered correctly during setup.
- Try resetting the Wall Connector by cycling the circuit breaker.
- Error Lights on the Wall Connector:
- Solid red light: Internal error, may require replacement.
- Blinking red light: Ground fault detected, check ground connection.
- Yellow light: Charging reduced due to high temperature, ensure proper ventilation.
When to Call a Professional
While many issues can be resolved with basic troubleshooting, some situations require professional assistance:
- Repeated circuit breaker tripping when charging begins
- Physical damage to the Wall Connector or charging cable
- Unusual noises, smells, or heat coming from the Wall Connector
- Complex error codes that persist after basic troubleshooting
- Need for firmware updates when Wi-Fi connection can’t be established
If you encounter these issues, contact Tesla customer support or a licensed electrician with experience in EV charger installations. Attempting to fix complex electrical problems yourself can be dangerous and may void your warranty.
For firmware updates without Wi-Fi, you can manually update by downloading the firmware file and connecting directly to the Wall Connector. However, this should only be attempted if you’re comfortable with the process described in the troubleshooting guide.
Frequently Asked Questions
How much does it cost to install a Tesla Wall Connector?
The cost varies depending on your home’s electrical setup and the complexity of installation. The Wall Connector itself costs around $400-$500, while installation costs typically range from $500-$1,500 depending on the distance from your electrical panel and any additional electrical work needed.
Can I install a Tesla Wall Connector myself?
Yes, if you have electrical experience and knowledge of local codes. However, many jurisdictions require permits and inspections for new electrical circuits, and improper installation could void warranties or create safety hazards.
What charging speed can I expect from a Wall Connector?
With a 60-amp circuit, the Wall Connector can deliver up to 48 amps (11.5 kW) of power, providing approximately 30-44 miles of range per hour of charging depending on your Tesla model.
Can I install a Wall Connector outside?
Yes, the Tesla Wall Connector is rated for outdoor installation. However, you’ll need to use weather-resistant conduit and fittings, and consider a location that offers some protection from direct exposure to elements.
Do I need to connect my Wall Connector to Wi-Fi?
While not required for basic charging functionality, connecting to Wi-Fi enables automatic firmware updates and integration with the Tesla app for monitoring and control features.